Essential Fade Mastery: Professional Fade Haircut Techniques
Master the art of fade haircuts with professional techniques from DIDA NYC Hair Studio. Complete guide to high taper fade, low fade, medium fade, and taper fade variations in Queens, NYC.
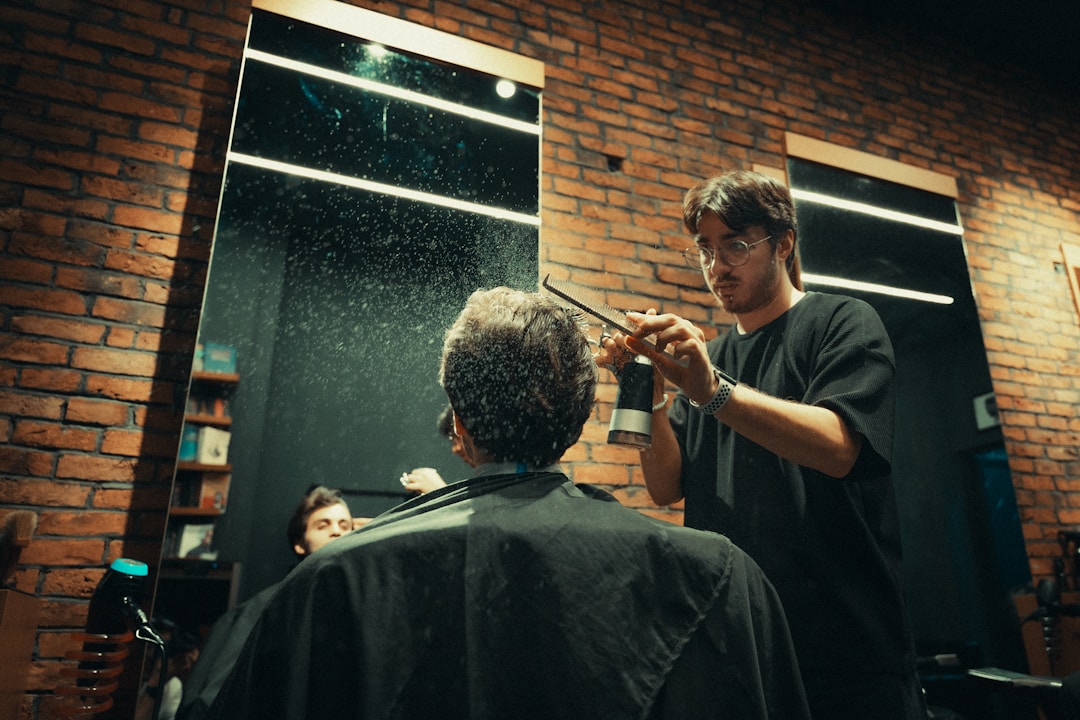
Essential fade mastery combining traditional barbering skills with modern techniques for perfect fade haircuts at DIDA NYC Hair Studio
Fade mastery is not about taking the sides short. It is about controlling the transition from skin or short hair into the longer shape on top. The best fades at DIDA NYC Hair Studio are customized by fade height, head shape, hair density, neckline, and how often the client wants to maintain the cut.
What DIDA barbers check before cutting a fade
A strong fade starts with a short consultation. Before the clippers touch the hair, the barber should understand how the hair grows, how much contrast the client wants, and whether the finished cut needs to look sharp for nightlife, clean for work, or easy for everyday styling.
- Hair texture: straight, wavy, curly, coily, thick, or fine
- Head shape: where the fade should climb and where it should stay low
- Top length: crop, fringe, side part, curls, waves, buzz cut, or long top
- Hairline and neckline: natural shape, lineup preference, and grow-out pattern
- Maintenance schedule: sharp every 2 weeks or softer over 3 to 4 weeks
- Product routine: matte texture, polished hold, leave-in control, or no product
Fade type decision table
Use this before your appointment if you know the style you want but not the exact barber terminology.
| Fade type | Best for | What to ask for |
|---|---|---|
| Low fade | Clean, professional, easier grow-out | Keep the fade below the temple and blend softly into the top. |
| Mid fade | Balanced contrast without going extreme | Start the transition around the temple and keep the top connected. |
| High taper fade | Sharper visual impact and tighter sides | Keep the taper high enough to read clean, but do not disconnect the crown. |
| Skin fade | Maximum sharpness for short styles | Take the bottom to skin and stretch the blend so there is no harsh shadow line. |
The fade process: guideline, blend, detail, finish
The barber chooses the fade height and establishes the first guideline so the cut is balanced around both sides of the head.
Guard changes and lever work remove the line without creating a cloudy or patchy blend.
Scissor-over-comb, clipper-over-comb, or texture work prevents the shelf that makes fades look unfinished.
The lineup, neckline, sideburns, beard connection, and product choice decide whether the cut looks premium after you leave the chair.
Common fade mistakes clients should avoid
Book a fade haircut in Rego Park, Queens
Bring one reference photo and tell us how sharp you want the cut to look two weeks later. DIDA barbers will adjust the fade height, top length, lineup, and product finish to your hair instead of copying a generic template.